

Manage blog authors
Authors are the bylines on your blog posts — the names readers see and the attribution that lends an article credibility. They render on your storefront blog, so a post can point to the person behind it.
Open the Authors tab
Section titled “Open the Authors tab”Authors sit alongside categories and tags. From the Content section of the sidebar, open Blog categories, then select the Authors tab at the top.
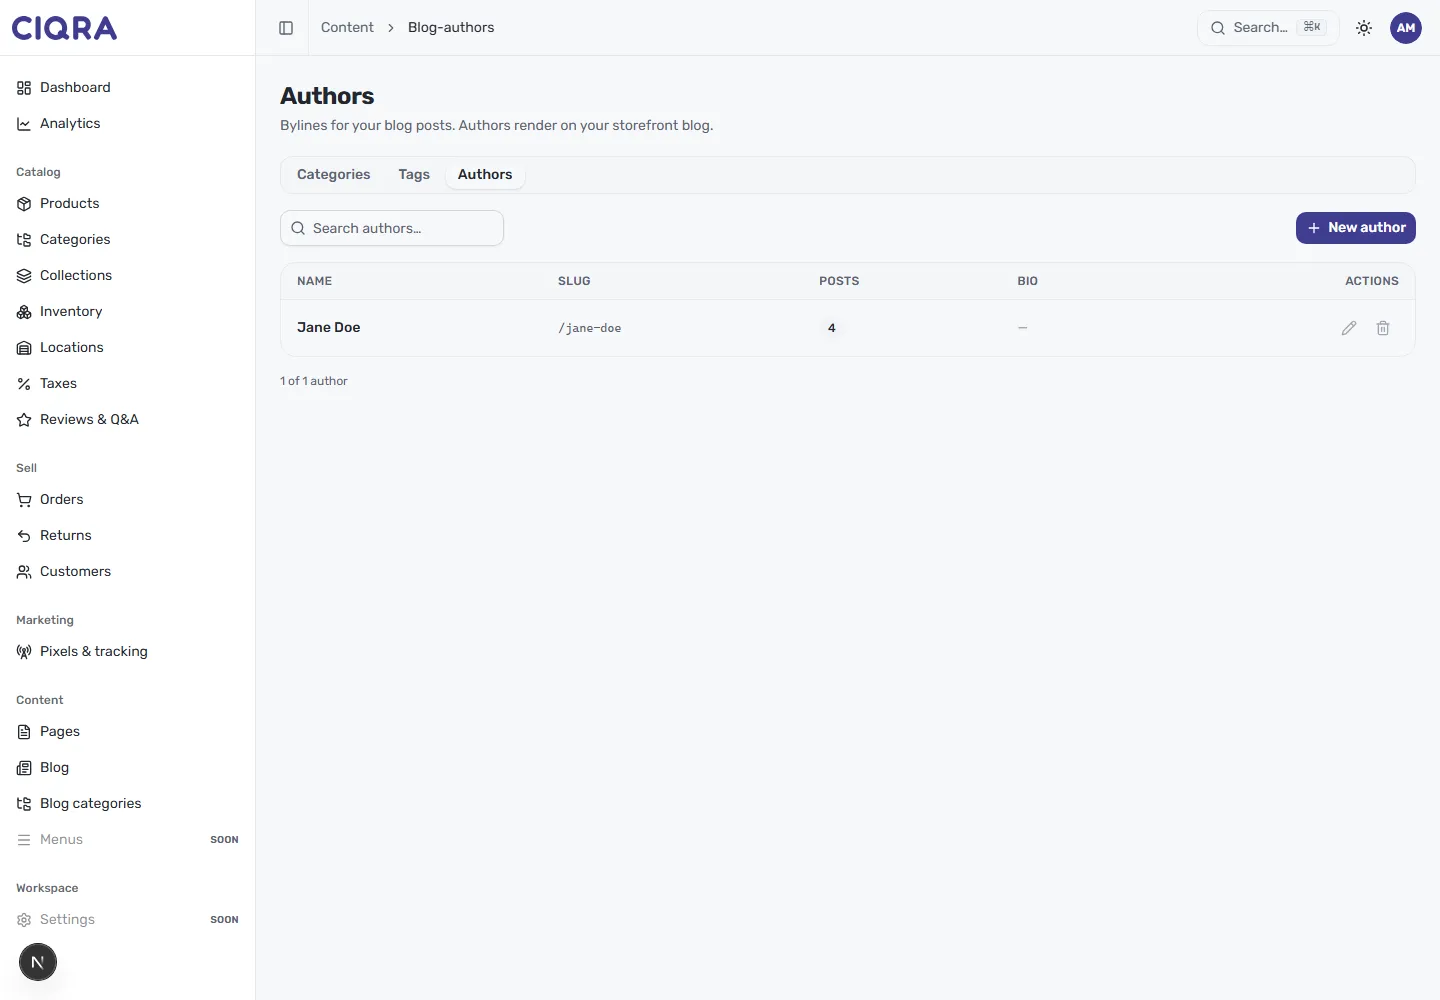
The table lists every author with:
- Name — the byline, such as “Jane Doe”.
- Slug — the URL segment for the author (for example
/jane-doe). - Posts — how many articles are attributed to them.
- Bio — a short description shown with their byline, if you’ve added one.
- Actions — edit or delete the author.
Create an author
Section titled “Create an author”Select New author in the top right, enter the author’s name, and confirm their slug. Once saved, the author becomes available in the Author panel of the post editor — and you can reach that same panel’s Manage authors link to jump straight back here.
Assign a byline
Section titled “Assign a byline”Open any post and choose the writer in its Author panel. New posts start with the author set to None, so set it before you publish if you want the article to carry a byline.
Search and manage
Section titled “Search and manage”Use Search authors to find someone in a longer roster. The edit and delete actions on each row let you update a name or bio, adjust the slug, or remove an author you no longer need.